About this guide: This sequence is a general practice framework, not individual medical or illness-recovery advice. Adapt movements with a qualified yoga teacher where needed; illustrations do not verify the movements or transitions.
Cold fingers, a cool floor and a heavy first forward fold are useful signals to begin smaller. This 25-minute practice starts with joint motion, adds repeated transitions and standing work, then returns to the floor while a warm layer is still within reach.
The intended outcome is a gradual rise and fall in effort, not a sweat target. Timing is approximate: take extra breaths, use the chair route or finish early whenever control or comfort changes.
Evidence boundary: this is an editorially assembled practice framework, not a clinical intervention or individualized treatment. The minute ranges describe intended pacing rather than timings measured in a teacher-led class; allow more time or rest as needed.
Yoga is generally safe for healthy people when practiced appropriately, but injury is possible. Use qualified instruction and individual medical guidance for pregnancy, current injury, recent surgery, severe balance concerns or health restrictions. Stop for sharp pain, numbness, chest pain, severe dizziness or unusual breathlessness.
Prepare the Room and Body
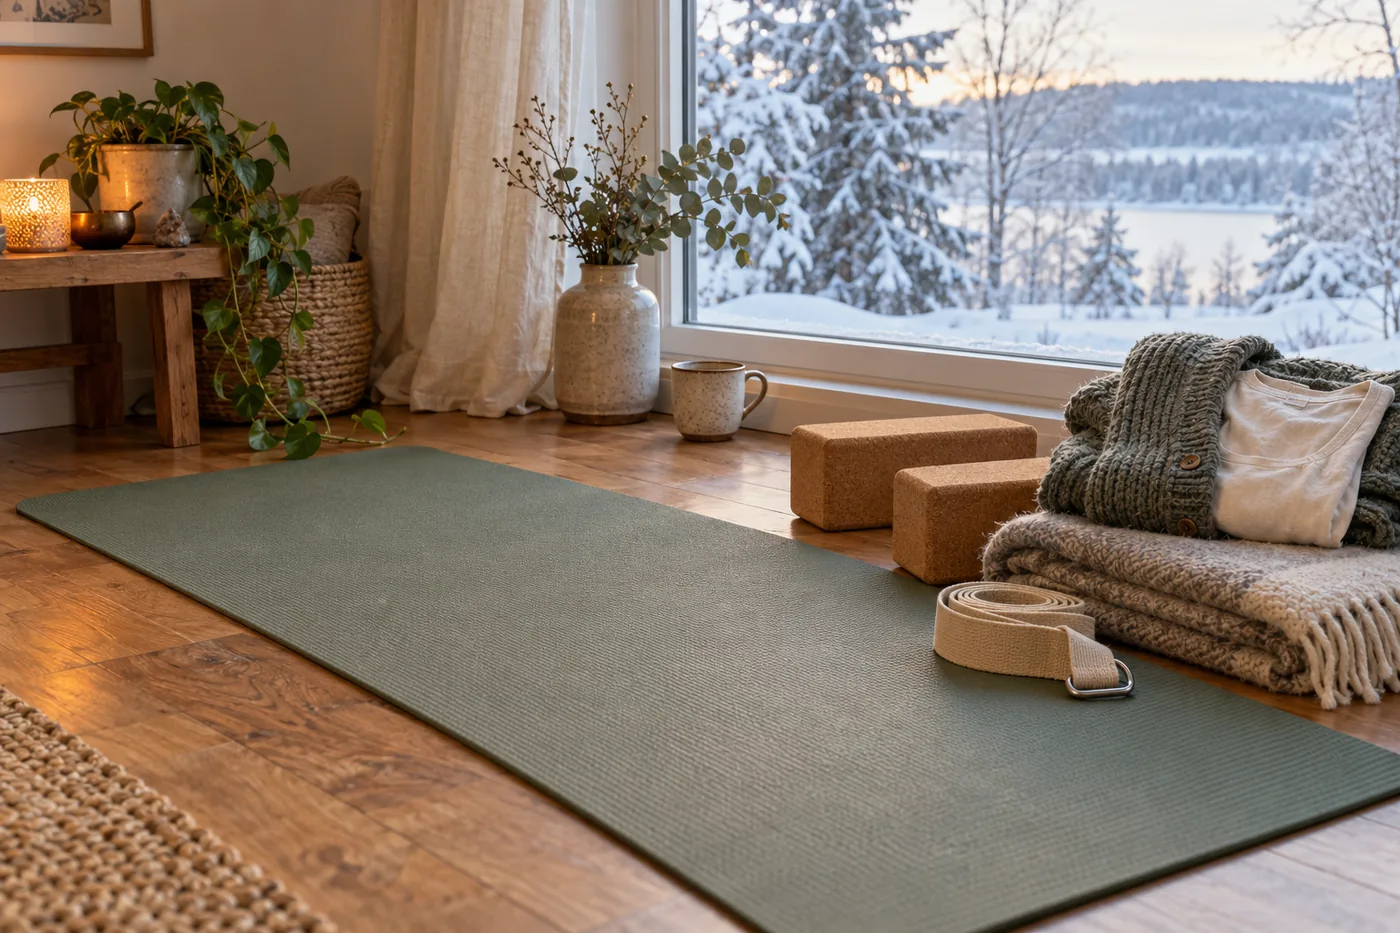
Remove drafts if possible, but do not place a heater where it can overheat skin, fabric or the mat. Keep a layer and blanket within reach. Use enough light to see the floor and props.
If arriving from outdoors, allow fingers and toes to regain normal sensation before loading them. Change out of wet clothing. A warm room does not replace a physical warm-up.
Needed:
- stable mat;
- two blocks;
- folded blanket;
- stable chair, with an optional wall for standing support;
- light layer;
- optional socks for seated opening only.
Remove ordinary socks before standing or changing levels if they reduce traction. The class clothing guide covers winter layers.
Choose a route before starting. The floor route includes kneeling and lying down, and is for readers who have already learned controlled floor transfers. The chair route stays off the floor, with standing options only when getting up, standing and sitting are comfortable. A seated alternative is provided in each movement block. Use a stable, non-wheeled chair against a wall, with the seat facing a clear, non-slip practice area; it must not slide or tip when used for support. Include all changes of position within the time blocks, and shorten the movements rather than hurry a transfer.
Minutes 0–3: Arrive Without Forcing the Breath
Begin both routes seated in the fixed chair with feet supported. Notice normal breathing. Roll shoulders four times each direction; open and close hands; circle one ankle at a time while the other foot stays supported.
Add gentle side bending with one hand supported. Keep breathing conversational. Forceful breath practices are not required for warmth and can cause light-headedness.
Finish upright with both feet supported. The chair route remains here for the next block; the floor route uses a learned transfer as described below.
Minutes 3–6: Mobilize the Spine
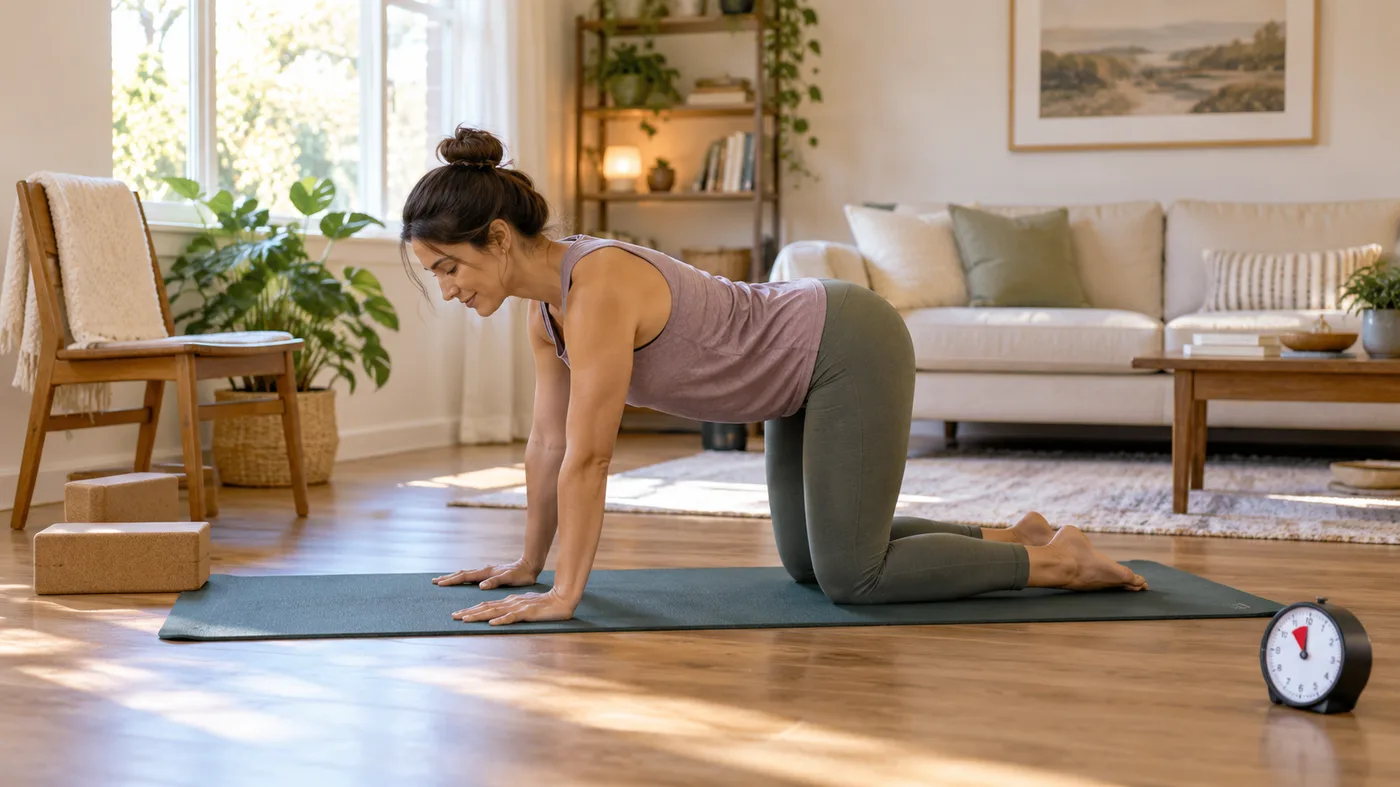
Floor route: Stand using the fixed chair for support if needed, then use a floor transfer you have already learned. One supported transition is to lower one knee and then the other onto padding while the hands remain on the chair seat; only once the knees are settled, transfer one palm and then the other onto the mat. Do not attempt this from written cues if it is unfamiliar or uncontrolled; choose the seated route instead.
- Cat–Cow for six to eight cycles
- Small hip circles each direction
- Thread-the-needle only to a comfortable range, two breaths each side
- Return to neutral
Finish on hands and knees in a neutral position. Move slowly enough to feel the supports. If the wrists or knees are uncomfortable, use the seated route rather than inventing a weight-bearing variation.
Chair route: Remain seated with feet supported and hands on thighs. On an easy inhale, gently tip the pelvis and move the chest forward; on an easy exhale, round slightly without throwing the head back. Repeat six to eight small cycles with pauses. Add a small comfortable chest turn to each side if useful, return to center and finish upright. Keep both feet supported throughout.
Minutes 6–9: Build Heat With Repetition
Floor route: From hands and knees, move hips a small distance toward heels and return three times. If already familiar, lift into bent-knee Downward Dog for three normal breaths, then lower the knees with control. Complete up to two such cycles in total. To finish, bring one foot forward into a comfortable half-kneeling position near the fixed chair, place hands on its seat for balance and use the front leg to help rise slowly through a transfer you already know. Bring the feet to a comfortable standing position and pause. Leave time for this exit; fewer repetitions are appropriate.
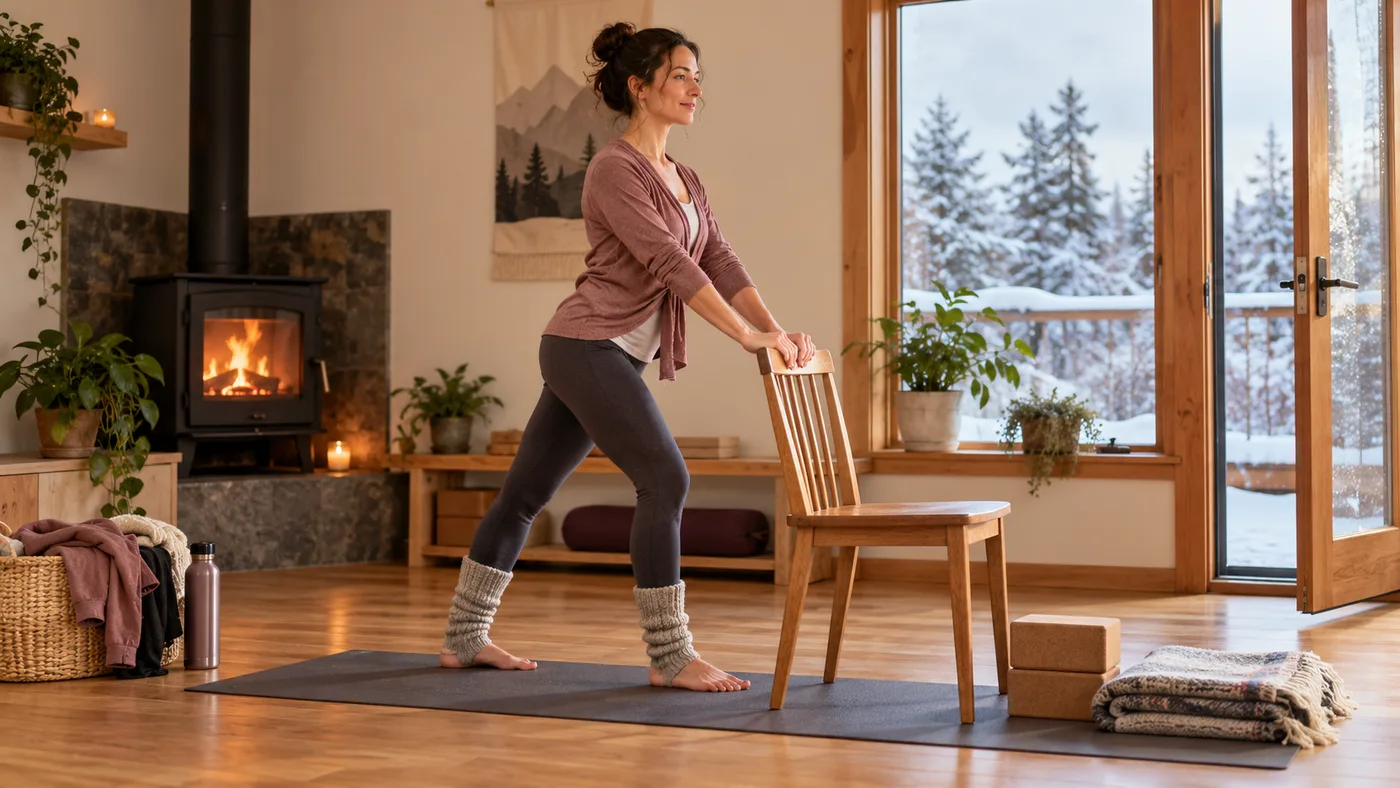
Standing chair route: From seated, place feet securely and rise slowly using the chair for support as needed. Turn with small steps to face its seat. Place both hands on the seat, walk the feet back one at a time and move the hips back into a comfortable half Downward Dog with knees soft. After three normal breaths, walk the feet forward, bring the torso upright slowly and release the hands only when balanced. Complete up to two such cycles in total, ending standing near the chair.
Seated chair alternative: If remaining seated, keep the back and feet supported. Alternate small arm raises and gentle shoulder rolls with pauses; lower each arm before changing sides. Finish sitting upright. Do not stand solely to complete this block.
Avoid: straightening knees at the expense of the back or rushing the descent.
Minutes 9–14: Simplified Sun Salutations
Complete up to three rounds of one route for this block. Keep the fixed chair in place, the mat flat and knee padding ready for the floor route. Readers who finished the previous block seated can use the seated alternative below without standing.
Floor route
- Begin standing in Mountain with the chair within reach. Raise the arms only to a comfortable height, then lower them.
- Bend the knees into a small forward fold, with hands resting on stable blocks if useful.
- If the floor is comfortably reachable, place one palm and then the other flat on the mat. Lower one knee and then the other onto the padding. Move the blocks out of the way and settle on hands and knees. If this transfer is not controlled, leave it out and use the chair route instead.
- Make one gentle Cat–Cow cycle, return to neutral, then move the hips a small distance toward the heels and back. Keep breathing normally.
- To return, bring one foot forward into a comfortable half-kneeling position beside the fixed chair. Place the hands on its seat for balance and use the front leg to help rise slowly, using a transfer you have already learned. Bring the feet to a comfortable standing position and pause.
- Finish in Mountain with arms relaxed. When repeating, alternate which leg leads the kneeling-to-standing transfer.
Standing chair route
- Stand facing the fixed chair with both feet comfortably apart and room to step backward.
- Raise and lower the arms within a comfortable range, then place both hands on the chair seat. Keep the knees soft.
- Walk the feet back one at a time and move the hips back into a comfortable chair-supported half Downward Dog. Keep a bend in the knees and take a normal breath.
- Walk the feet forward one at a time while keeping the hands supported. Bend the knees as needed, bring the torso upright slowly and release the hands only when balanced.
- Finish standing in Mountain and pause before another round. This route stays off the floor throughout.
Seated chair alternative: Remain seated with feet supported. Raise and lower the arms within a comfortable range, rest hands on thighs, make a small forward hip hinge if comfortable and return upright. Add one small seated Cat–Cow cycle and pause. Complete up to three such rounds in total without changing to the floor or standing route.
Take as many normal breaths as needed. The five-minute block includes setup, transfers and pauses; fewer rounds or additional rest are appropriate. Do not hurry to complete a round when the time ends. The 20-minute beginner practice offers another practice option.
Minutes 14–19: Standing Strength and Heat
For the floor or standing chair route, begin standing near the fixed chair or wall. If remaining seated, use the seated alternative at the end of this block instead of the standing poses.
Warrior II
Stay three breaths each side. Track the front knee with toes and shorten the stance if needed.
Reverse Warrior to Side Angle
From Warrior II, place rear hand lightly on rear leg and reach front arm up without collapsing the waist. Return, then rest front forearm gently on thigh for Side Angle. Take two breaths in each.
Chair variation
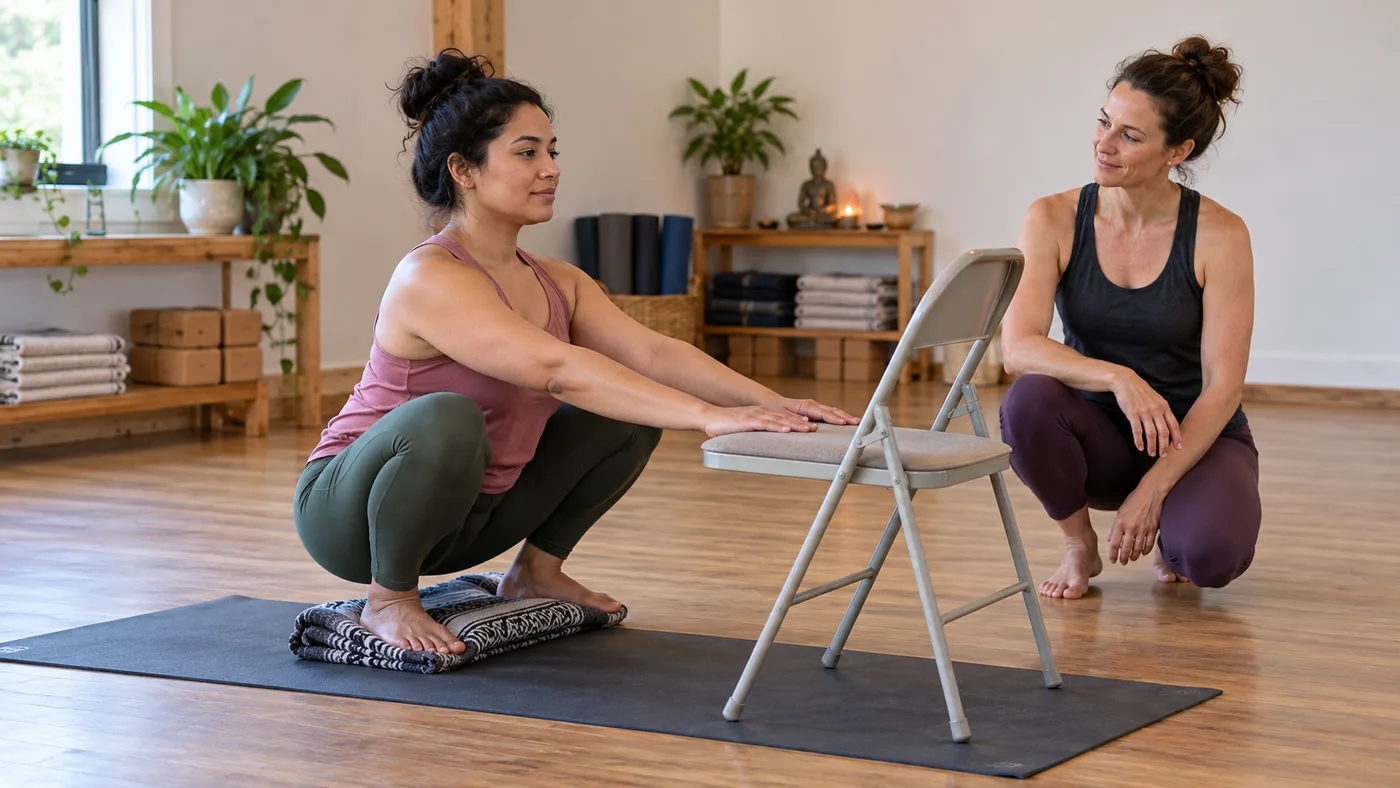
Feet comfortable, bend hips and knees into a small squat for two breaths. Stand. Repeat twice.
Use a chair under the pelvis or hand on a wall. Warmth comes from controlled muscle work, not deepest range.
Seated chair alternative: Stay seated with back and feet supported. Alternate gentle heel raises with small arm raises, working both sides, then add shoulder rolls and quiet pauses. Finish seated; this block does not require a squat or standing balance.
Minutes 19–22: Return to the Floor
Floor route: Lower to the mat only through a controlled transfer you have already learned, then lie on the back with knees bent. If the transfer is not comfortable, use the chair alternative instead.
- Bridge lift: three slow repetitions
- Knees toward body: comfortable hold
- Supine Twist: three breaths each side
- Feet down: pause
Do not turn the head while the pelvis is lifted. Use a small lift or pelvic tilt if bridge is uncomfortable.
Chair route: If standing, turn with small steps and sit slowly in the fixed chair, using it for support as needed. If already seated, remain there with feet supported. Use small shoulder rolls and ankle circles, then pause quietly instead of performing the floor poses. Stay seated for final rest.
Put the layer back on before becoming cold.
Minutes 22–25: Covered Rest
Support knees over a bolster/chair, rest on the side, or remain seated with back and feet supported. Cover the torso and feet if comfortable. Let breathing return to normal.
To exit floor rest, move fingers/toes, roll to one side and pause before sitting slowly. After either floor or seated rest, stand only when steady.
If You Have Only 10 Minutes
- Joint circles and Cat–Cow, seated if preferred — 2 minutes
- Chair-supported Downward Dog or seated arm movement — 1 minute
- Up to two rounds of one simplified Sun Salutation route above, including its entry and exit — 3 minutes
- Warrior II on both sides or the seated alternative above — 2 minutes total
- Supported rest — 2 minutes
Do not remove rest to fit more poses.
Cold-Weather Modifications
Stiff first thing in the morning
Double the joint warm-up and reduce fold depth. Do not evaluate flexibility immediately after waking.
Cold floor
Use a suitable mat and blanket under knees, but keep unstable blankets away from standing feet. Review mat thickness and density.
Low energy or illness recovery
Use the ten-minute version or rest. Fever, acute illness and unusual symptoms are reasons not to chase warmth through exertion.
Outdoor winter practice
Wind chill, wet surfaces and numb extremities add risk. An indoor sequence is usually more controllable. If outside, use appropriate technical layers and a dry, non-slip surface.
Use Layers as a Temperature Control System
Begin with a breathable base layer, warm socks and an easy-to-remove top rather than overheating the room. Remove one layer only after the hands, feet and breathing feel settled; put it back on before floor work and final rest. This keeps warmth adjustable as the sequence changes from repeated standing movement to stillness.
Avoid practicing directly beside a heater, on a mat that has become stiff or slippery, or in clothing that restricts breathing and hip movement. Cold sensation is not a cue to force a deeper stretch. Let repeated low-range movement create warmth first, then increase range only if control improves. After practice, change out of damp clothing promptly and avoid stepping onto a cold, slick floor with bare feet.
After Practice
Change damp clothing, dry the mat and eat/drink normally. Sweating heavily is not the objective. If the body feels chilled, shaky or unwell, warm gradually and seek help as appropriate.
Cold-Weather Questions
Does yoga “boost immunity” in winter?
Yoga may support general well-being, but a single sequence does not prevent infection. Sleep, vaccination where appropriate, nutrition, hygiene and medical care remain important.
Should I use a space heater?
Only according to equipment safety instructions, away from mats and fabrics, with adequate ventilation. Do not create an improvised hot-yoga room.
Why do I feel less flexible in winter?
Temperature, recent activity and perception can alter how movement feels. Warm gradually; do not force the previous season's range.
Can beginners do this sequence?
Yes with the listed chair/block options, but qualified instruction is valuable. Use the eight-pose beginner guide for individual cues.
Sequence Takeaway
Winter practice works best as a temperature curve: arrive, mobilize, build, stabilize and cover before rest. Finish warm enough to recover, not sweaty enough to become cold.
Sources and Further Reading
Source-use note: the commercial practice pages supplied ideas for sequencing and clothing context, not clinical evidence or proof that this exact 25-minute sequence is safe for an individual. Those sources do not validate the timing or transitions of this complete sequence; its pacing is a planning framework, not a professionally assessed class.