About this guide: This general pose reference is not individual instruction or medical advice. Learn suitable variations with a qualified yoga teacher; illustrations provide context and do not verify alignment, prop placement or transitions.
A useful pose reference includes a way into the shape, an easier option and a controlled exit. The eight entries below are organized around those three needs, with props used to reduce reach or balance demands. Their purpose is familiarity with basic movement patterns rather than a flexibility target.
Yoga is generally considered safe for healthy people when practiced appropriately, but strains can occur. The US National Center for Complementary and Integrative Health recommends qualified instruction, gradual progression and avoiding extreme practices as a beginner. Seek individualized advice for pregnancy, recent surgery, significant injury, severe balance issues, glaucoma, uncontrolled blood pressure or other medical restrictions.
Stop for sharp pain, numbness, chest pain, severe dizziness, unusual breathing difficulty or symptoms that persist after rest. A mild muscular effort is different from joint pain.
What You Need
- 15–20 minutes
- A stable, non-slip surface
- Two blocks or sturdy books
- A folded blanket
- A wall or chair
- Clothing that permits breathing and movement
Use the mat guide if the surface slips or feels unstable.
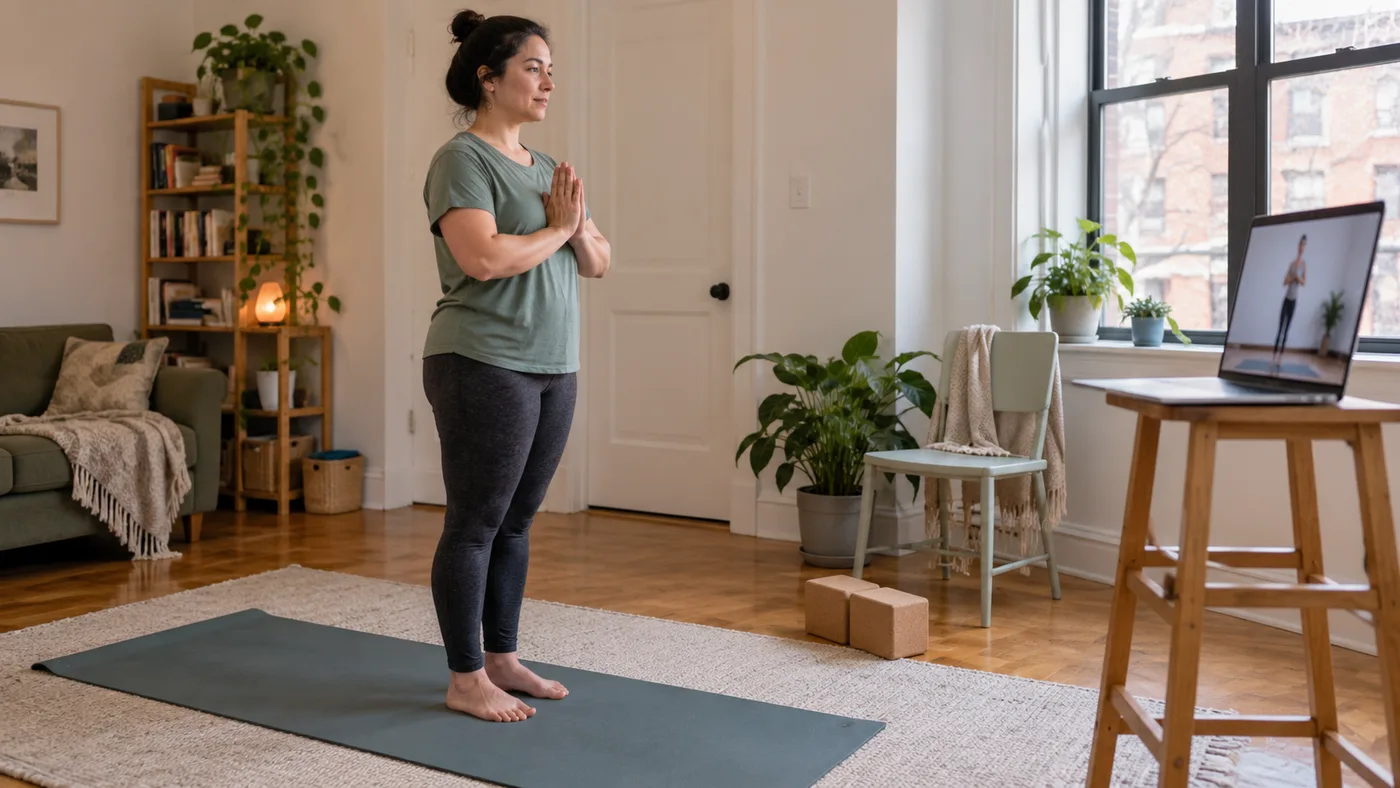
1. Mountain Pose
Stand with feet hip-width apart or together if comfortable. Spread weight across heel, base of big toe and base of little toe. Soften the knees, lengthen through the crown and let shoulders rest.
Take five normal breaths. Avoid locking the knees or lifting the ribs. To exit, simply relax the arms and shake out the legs.
Modification: Stand with the back near a wall for orientation, without forcing every body part against it.
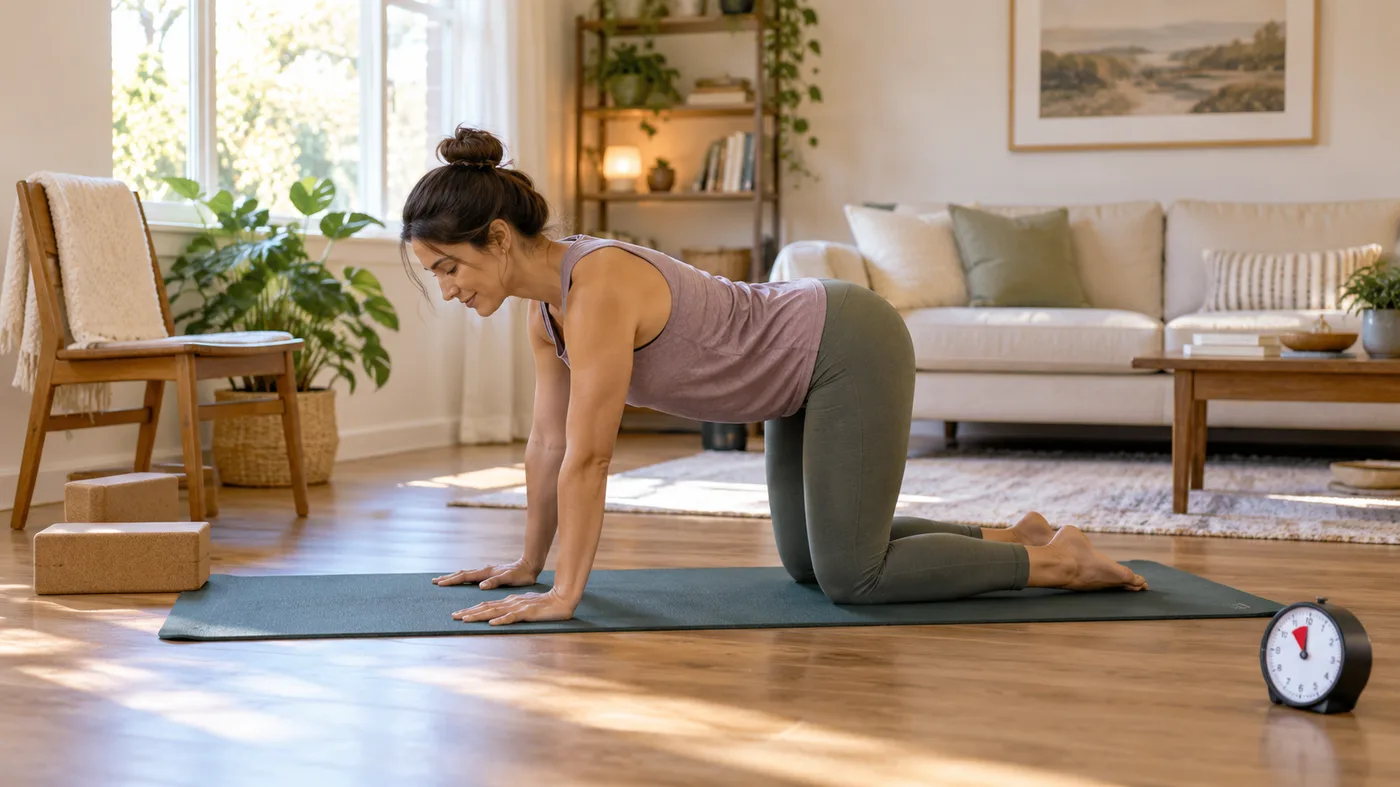
2. Cat–Cow
Come to hands and knees with wrists roughly beneath shoulders and knees beneath hips. On an inhale, gently move the chest forward and allow the pelvis to tip; on an exhale, press the floor away and round comfortably.
Repeat six to eight cycles. Let movement follow breathing rather than forcing the largest possible arch.
Common mistake: throwing the head back. Keep the neck part of the spinal curve.
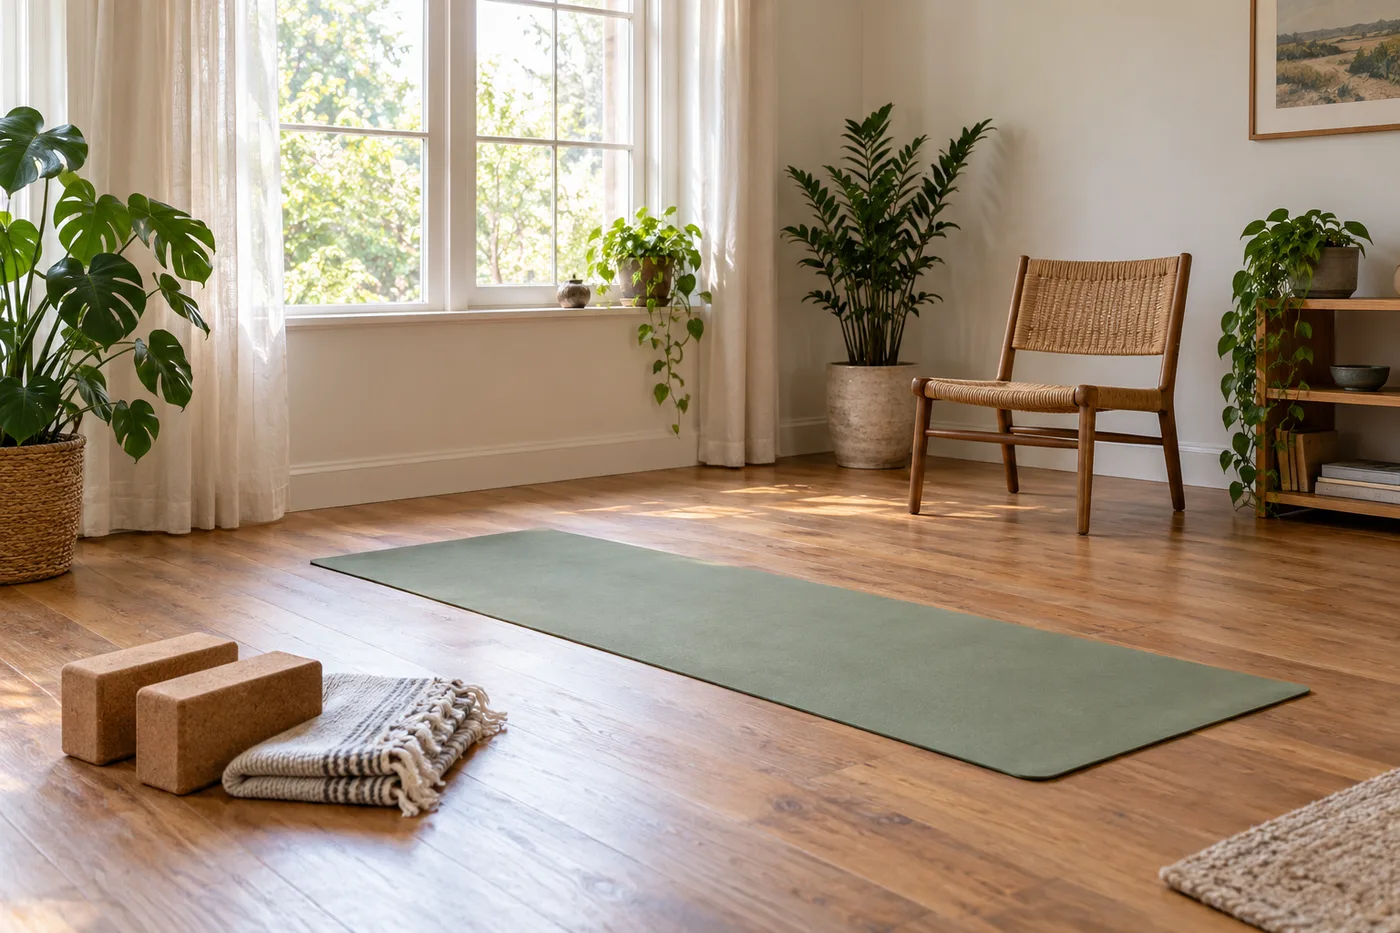
Modification: Place a folded blanket under knees or perform the spinal motion seated with hands on thighs.
3. Downward-Facing Dog
From hands and knees, spread fingers, tuck toes and lift hips back and up. Keep knees bent enough to lengthen the torso. Press through hands without collapsing shoulders toward ears.
Stay for three to five breaths. To exit, lower knees slowly to the mat and rest.
Heels do not need to touch the floor. The purpose is not to prove hamstring length.
Modification: Place hands on a wall or chair and walk feet back into an L shape. This reduces wrist load and intensity.
4. Low Lunge
From hands and knees or downward dog, step the right foot between hands. Lower the left knee onto padding and bring the torso up with hands on blocks or the front thigh. Keep the front knee tracking in the direction of the toes.
Take three breaths, then place hands down and step back carefully. Repeat left.
Common mistake: forcing the pelvis forward until the front knee travels far beyond comfortable control. Shorten the stance if balance or knee comfort improves.
Modification: Keep both hands on blocks and torso slightly forward.
5. Warrior II
Stand with feet wide. Turn the front foot toward the short edge and angle the back foot slightly inward. Bend the front knee in line with the toes. Extend arms at shoulder height without gripping.
Look over the front hand only if the neck is comfortable. Take three to five breaths. To exit, straighten the front leg, lower arms and turn feet forward before changing sides.
Modification: Shorten the stance or use a chair beneath the front thigh.
6. Tree Pose
Shift weight into one foot near a wall. Place the other foot at the floor like a kickstand, on the inner calf or on the inner thigh—never directly on the knee joint. Fix the gaze on one point.
Stay for three breaths, lower the foot with control and change sides.
Modification: Keep toes on the floor or fingertips on the wall. Balance support is a training tool, not a failure.
7. Supine Twist
Lie on the back, bend knees and place feet down. Bring knees toward the body, then let them move together to one side while shoulders remain comfortable. Support knees with a pillow if they hover.
Take three to five breaths. Return knees to center using abdominal control and repeat.
Common mistake: forcing both knees to the floor while the shoulder lifts painfully. Use support and reduce range.
Modification: Move one knee across at a time.
8. Savasana
Lie on the back with legs comfortable and arms away from the torso. Support knees over a bolster or chair if the lower back feels strained. Use a blanket for warmth.
Rest for three to five minutes with natural breathing. To exit, deepen breathing, move fingers and toes, roll onto one side and pause before sitting.
Modification: Rest on the side or sit supported if lying flat is uncomfortable or medically inappropriate.
A 15-Minute Beginner Sequence
- Mountain Pose — 1 minute
- Cat–Cow — 2 minutes
- Downward Dog or wall version — 1 minute
- Low Lunge — 2 minutes total
- Warrior II — 2 minutes total
- Tree Pose — 2 minutes total
- Supine Twist — 2 minutes total
- Savasana — 3 minutes
Transitions count as practice. Move slowly enough to keep breathing steady. The 20-minute home sequence adds preparation and progression.
Common Beginner Mistakes
- Holding breath to reach farther
- Locking knees or elbows
- Comparing pose shape with photographs
- Treating shaking as a command to push
- Skipping the exit from a pose
- Practicing on a sliding rug
- Increasing duration and difficulty simultaneously
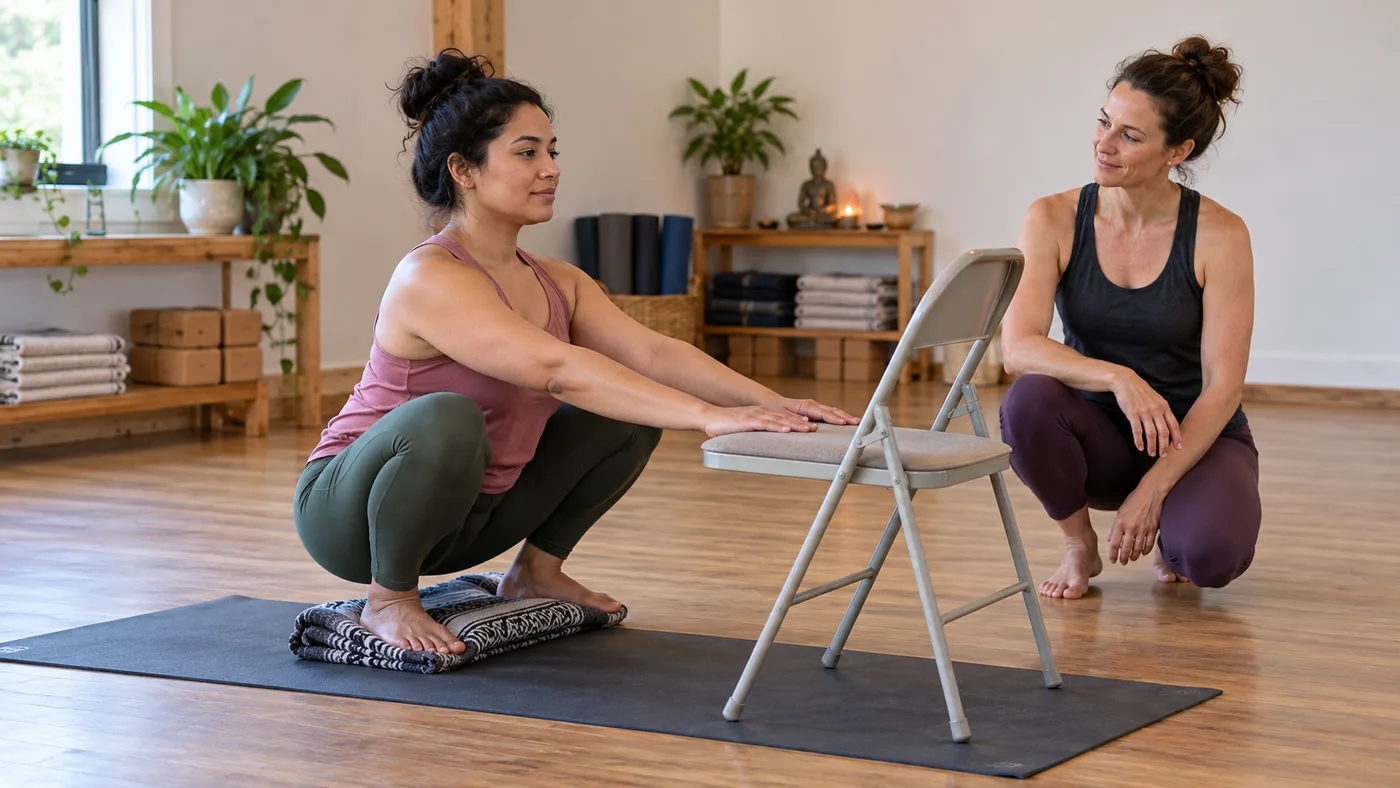
Use props early. Blocks bring the floor closer; walls reduce balance risk; blankets reduce pressure.
How Often to Practice
Two or three short sessions per week can build familiarity. Add either one breath, one repetition or a few minutes—not all at once. Record which pose caused discomfort and bring that information to a qualified teacher.
The 30-day habit plan can structure repetition without requiring daily intensity.
Questions to Resolve Before Practicing Alone
Do I need to be flexible?
No. Range develops differently among bodies, and flexibility is not the entry requirement. Use modifications.
Is soreness normal?
Mild muscular soreness can occur after unfamiliar activity. Sharp, escalating, joint or neurologic symptoms are not goals and deserve evaluation.
Can I learn entirely from an article?
An article can support practice, but live qualified instruction is valuable for individual feedback—especially with injuries, pregnancy or balance concerns.
Which pose should I skip first?
Skip or modify any pose that creates pain, dizziness, numbness or unsafe instability. There is no mandatory pose.
Yoga Alliance's Scope of Practice is a useful boundary: a yoga teacher should work within their training and should not diagnose, treat or imply clinical authority they do not hold.
Practice Standard
Make each pose smaller than your maximum. Maintain normal breathing, exit with control and finish feeling capable of practicing again. Consistency grows from a sequence that the body trusts.